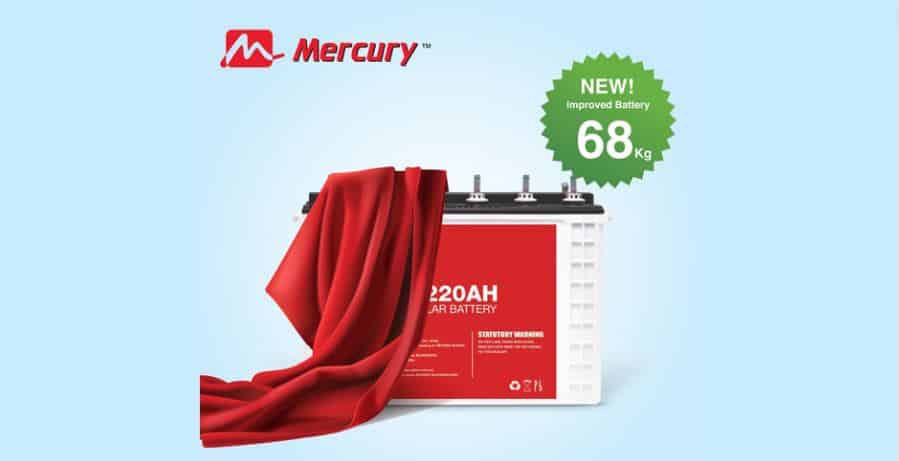
Things To Do After Buying An Inverter Battery
Congratulations on buying an inverter battery! This is a significant step towards energy independence, reliability, and sustainability. Buying an inverter battery can be a game-changer in your home or office, providing you with a steady and reliable source of power. especially in situations where the main power supply is inconsistent or unavailable.
However, there are essential steps to take after buying an inverter battery to ensure it performs at its best and lasts for a long time. That’s why we’ve put together this comprehensive guide. It will walk you through the essential steps you need to take after buying a new inverter battery, and provide you with tips to maximize your battery performance and prolong its life.
Whether you’re a first-time inverter battery owner or you’ve just added a new one to your battery bank, this guide is designed to help you get the most out of your investment. So, let’s dive in!
Step 1: Initial Battery Charging
One of the first things you should do after buying a new inverter battery is to charge it for at least 8 hours before the first use. This initial charge is crucial for setting the foundation for the battery’s future.
Here are some key reasons why it’s crucial to charge your newly purchased inverter battery for 8 hours before its initial use:
- Maximizing Battery Capacity: The initial 8-hour charge ensures that your inverter battery reaches its full capacity. This sets the stage for optimal performance in subsequent uses.
- Compensating for Potential Energy Loss: During shipping or extended storage, some energy loss may occur. The initial long charge helps replenish any lost energy, ensuring your battery starts on a strong note.
- Overcoming the ‘Memory Effect’: While this primarily applies to older MiMH and NiCAD batteries, it’s worth noting. These batteries can develop a ‘memory effect’ where they ‘remember’ a lower capacity if not fully charged and discharged initially. An 8-hour charge helps prevent this effect.
- Setting the Standard for Future Charging Cycles: The first charge sets a precedent for all future charging cycles. By ensuring it reaches its maximum capacity on the first charge, you’re helping your battery achieve its full potential in all subsequent charges.
By following these steps after buying an inverter battery, you’re setting the stage for optimal battery performance and longevity.
Step 2: Battery Capacity Testing
After the initial 8-hour charge, it’s important to test the capacity of the battery to ensure it matches what’s indicated on the label.
Here’s how you can do it:
- Identify your inverter’s voltage and battery capacity: For this example, let’s say you have a 24-volt inverter and two 200Ah GEL deep cycle batteries connected in series.
- Calculate the expected backup time: Using the formula 200Ah * 24V * 0.8 (efficiency) * 0.8 (DOD) / 300W (load), the expected backup time is approximately 10.24 hours.
If your backup time is significantly less than this, then something is wrong. You should take your batteries back to the point of sale for a replacement or a refund.
You can learn more about how long 200ah batteries last here.
Step 3: Regular Battery Charging
Regular charging is crucial for maintaining your inverter battery. It’s important to follow the manufacturer’s guidelines on charging frequency and duration to optimize battery performance. Check out our guide on how to properly charge your inverter battery.
Step 4: Routine Battery Maintenance
Routine maintenance is key to prolonging your inverter battery’s life. This includes cleaning the battery terminals, checking for any physical damages, and ensuring the battery is operating at the right temperature. Learn more about routine battery maintenance.
Step 5: Adhere to Battery Safety Guidelines
Safety should always be a priority when handling inverter batteries. Always adhere to the safety guidelines provided by the manufacturer to prevent any accidents or damages. Here are some safety guidelines you should follow.
Step 6: Maximizing Battery Performance
There are several ways to maximize your inverter battery’s performance. This includes not overloading the inverter, keeping the battery at an optimal temperature, and using energy-efficient appliances. Learn more about maximizing battery performance.
Conclusion
By following these steps and tips, you can ensure that your inverter battery operates at its best and lasts for a long time. Remember, proper care and maintenance are key to getting the most out of your inverter battery.
Are you ready to take the next step in your journey towards reliable and sustainable power? Visit our product page to explore our wide range of high-quality inverters, batteries, and solar solutions. If you have any questions or need further assistance, don’t hesitate to contact us. Our team of experts is always ready to help you make the most of your investment.
Remember, at Mercury Direct, we’re more than just a provider of renewable energy solutions. We’re your partner in power.


the blog was helpful in many ways and was so easy to understand i hope you keep uploading more blogs
How long of usage of my old solar batteries can i add up new ones??