How to Connect an Inverter to a Distribution Board

In the realm of power management, one of the most critical skills to master is the correct and safe connection of an inverter to a distribution board. This process, while seemingly straightforward, requires a keen understanding of electrical systems and a meticulous approach to ensure safety and efficiency.
The connection between an inverter and a distribution board forms the backbone of your alternative power supply system. It is through this connection that the converted AC power from the inverter is distributed to various electrical appliances in your home or office. The proper establishment of this connection is crucial to ensure the smooth operation of your appliances and to prevent any potential electrical mishaps.
Moreover, understanding this connection process can empower you to maintain and troubleshoot your power system when required. It can save you time and resources, and provide you with the confidence of being in control of your power supply.
However, it’s important to note that while knowledge and understanding are essential, the actual process of connecting an inverter to a distribution board should be carried out with utmost caution. If you’re unsure about any step in the process, it’s always best to consult with a professional electrician.
In the following sections, we will delve deeper into the step-by-step process of connecting an inverter to a distribution board, the safety precautions to be observed, and some common troubleshooting tips. This comprehensive guide aims to equip you with the knowledge you need to manage your power system effectively and safely.
Safety Precautions

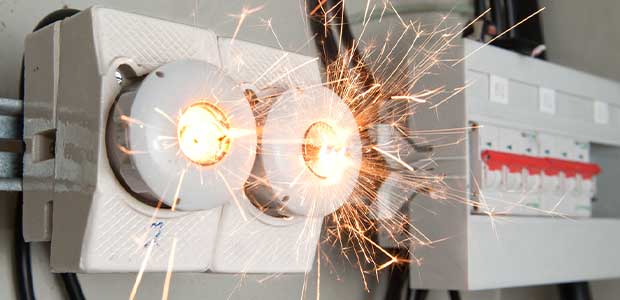
When dealing with electrical installations such as connecting an inverter to a distribution board, safety should always be the top priority. The process involves handling electrical wires and components that, if mishandled, can lead to serious accidents or damage to the equipment. Here are some essential safety measures to consider:
- Disconnect Power Sources: Before you begin the process, ensure that the inverter is switched off and disconnected from any power source. This includes the battery or any other DC source that powers the inverter. Similarly, ensure that the main power supply to the distribution board is switched off. This is a critical step to prevent any electrical accidents during the installation process.
- Use Insulated Tools: Always use insulated tools when working with electrical installations. These tools are designed to protect you from electrical shocks. Never use metallic or conductive tools as they can cause short circuits or electrical shocks.
- Wear Protective Gear: Wear rubber gloves and safety shoes to protect yourself from potential electrical shocks. If possible, also wear safety goggles to protect your eyes from sparks or debris.
- Check Wire Insulation: Before making any connections, check the insulation of the wires. Any damaged or worn-out insulation can expose the conductive wire, leading to short circuits or electrical shocks. If the insulation is damaged, replace the wire before proceeding.
- Proper Wire Connections: Ensure that all wire connections are secure. Loose connections can lead to sparks, overheating, or even fires. Use appropriate connectors and make sure they are tightly fastened.
- Avoid Water: Never work on electrical installations in wet or damp conditions. Water is a good conductor of electricity and can lead to electrical shocks. If the area around the inverter or distribution board is wet, dry it before starting the work.
- Understand Your Equipment: Before starting the process, take time to understand your inverter and distribution board. Read the user manuals thoroughly. Different models may have different installation procedures and safety measures.
- Ventilation: Inverters can generate heat during operation. Ensure that the inverter is installed in a well-ventilated area to prevent overheating.
- Professional Help: If at any point you feel unsure or uncomfortable, do not hesitate to seek professional help. An experienced electrician can safely and efficiently perform the installation.
Remember, safety is not just about following precautions during the installation process. It’s also about ensuring that the installed system is safe to use. After connecting the inverter to the distribution board, double-check all connections, ensure the area is dry and clean, and that the inverter is properly ventilated.
While connecting an inverter to a distribution board is a task that can be accomplished with the right knowledge and tools, it involves potential risks. Always prioritize safety over convenience. A cautious approach can prevent accidents and ensure the longevity of your power system.
Step-by-Step Guide to Connecting an Inverter to a Distribution Board

Step 1: Understand Your Equipment
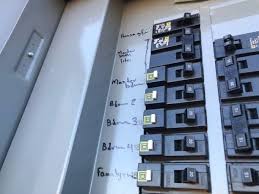
Before you begin, familiarize yourself with the inverter, the distribution board, and the charging system for the inverter batteries. Identify the input and output terminals on the inverter, the main switch, circuit breakers, and wiring layout on the distribution board, and the charging connections for the batteries.
Step 2: Prepare the Wires
You will need wires to connect the inverter to the distribution board and the charging system to the batteries. The wires should be of adequate gauge to handle the maximum current output of the inverter and the charging current of the batteries. Strip the insulation at the ends of the wires to expose the conductive part.
Step 3: Load Separation
Decide which appliances will run on inverter power and which will not. Create a separate wiring circuit for the appliances that will run on the inverter. This circuit should be separate from the main circuit that powers heavy-duty appliances.
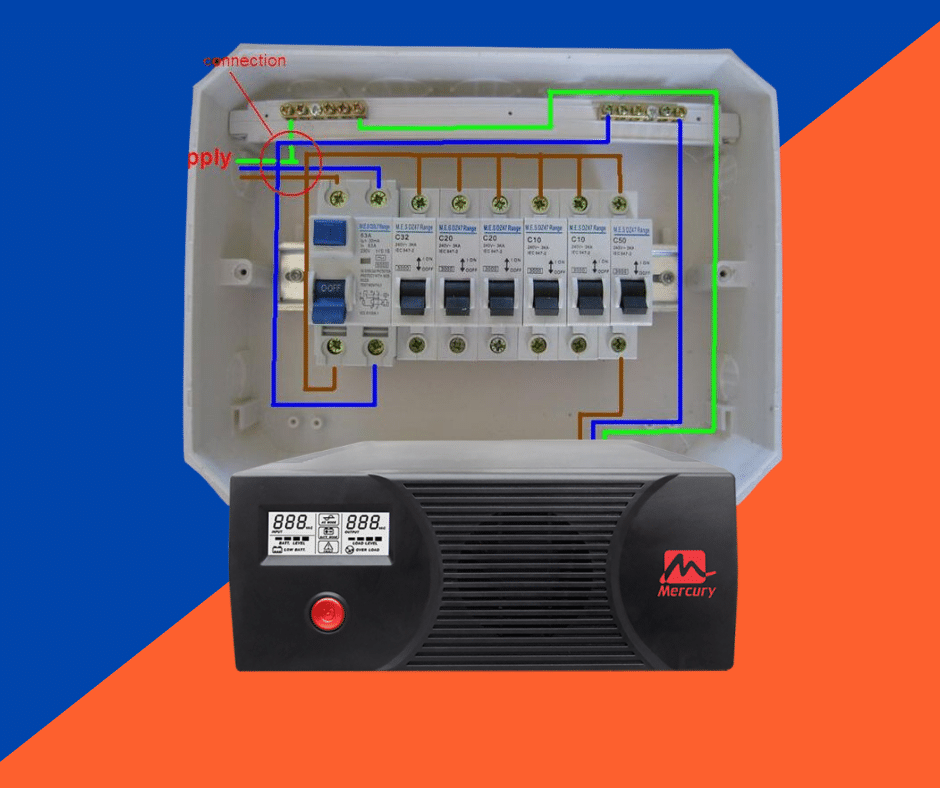
Step 4: Connect the Inverter to the Load Separated Circuit
Connect the output of the inverter to the separate circuit in the distribution board.
Step 5: Connect the Charging System to the Batteries
Connect the charging system to the batteries following the manufacturer’s instructions. Ensure that the positive and negative connections are correctly made to prevent damage to the batteries or the charging system.
Step 6: Grounding the Inverter
If your inverter has a grounding terminal, connect a wire from this terminal to the earth bar in the distribution board.
Step 7: Final Checks and Power On
Double-check all connections. Ensure that the wires are securely connected and not touching each other. Once everything is checked, you can switch on the charging system, the inverter, and then the main power supply.
Remember, this guide is a general process and the actual connection procedure may vary based on the specific models of your inverter, distribution board, and charging system. Always refer to the user manuals of your devices and when in doubt, seek professional help.
Troubleshooting Tips
Even with careful planning and execution, you might encounter some issues when connecting an inverter to a distribution board. Here are some common problems and their potential solutions:
1. Inverter Not Turning On
If your inverter doesn’t turn on, first check the power source. Ensure that the batteries are properly connected and charged. If the power source is fine, check the inverter’s fuses and circuit breakers. A blown fuse or a tripped breaker could be the reason the inverter isn’t turning on.
2. No Power to Appliances
If the inverter is on but there’s no power to the appliances, check the connections between the inverter and the distribution board. Ensure that the wires are securely connected and there’s no damage to the wires. Also, check the circuit breakers on the distribution board. A tripped breaker could be interrupting the power supply.
3. Inverter Overheating
Inverters can overheat if they’re overloaded or if there’s insufficient ventilation. If your inverter is overheating, check the load on the inverter and ensure it’s within the inverter’s capacity. Also, check the ventilation around the inverter. There should be enough space around the inverter for heat to dissipate.
4. Batteries Draining Quickly
If the batteries are draining quickly, it could be due to a heavy load on the inverter or the batteries might be nearing the end of their lifespan. Check the load on the inverter and ensure it’s within the capacity of the batteries. If the batteries are old, consider replacing them.
5. Frequent Tripping of Circuit Breakers
Frequent tripping of circuit breakers could be due to a short circuit or an overload. Check the wiring for any signs of damage or short circuits. Also, check the load on the inverter and the distribution board. If the load is too high, it could be causing the breakers to trip.
Remember, while these troubleshooting tips can help you diagnose and potentially fix some common issues, always prioritize safety. If you’re unsure about anything or if the problem persists, seek help from a professional electrician.
Conclusion

In conclusion, understanding how to connect an inverter to a distribution board is a valuable skill that can empower you to manage your power system effectively. From the initial steps of understanding your equipment and taking necessary safety precautions, to the detailed process of preparing the wires, performing load separation, connecting the inverter to the load separated circuit, grounding the inverter, and finally powering on, each step plays a crucial role in ensuring a safe and efficient setup.
Moreover, being aware of common troubleshooting scenarios and their solutions can equip you to handle potential issues that may arise during or after the installation process. Whether it’s the inverter not turning on, no power to appliances, the inverter overheating, batteries draining quickly, or frequent tripping of circuit breakers, having a basic understanding of these issues can help you maintain the longevity and efficiency of your power system.
However, it’s important to remember that while this guide provides a comprehensive overview, the specifics can vary based on the models of your inverter, distribution board, and charging system. Always refer to the user manuals of your devices and when in doubt, don’t hesitate to seek professional help.
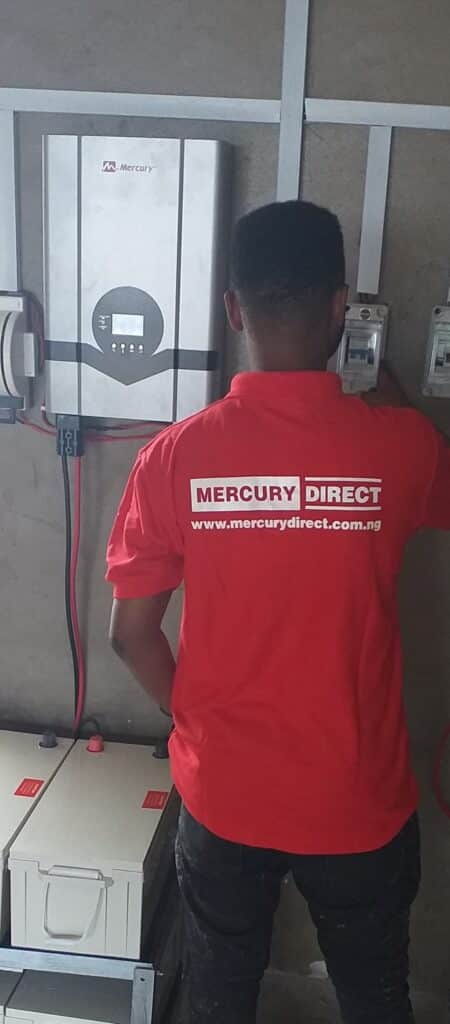
At Mercury Direct, we are committed to providing you with the best quality inverters and expert advice on their installation. Our team of experts is always ready to assist you with your energy needs. Whether you need more information, assistance with installation, or help with troubleshooting, don’t hesitate to reach out to us. You can contact us at 07037451701 or email us at support@mercurydirect.com.ng.
Take the first step towards efficient energy management today!
If you’re looking to upgrade your power system or purchase a new inverter, we invite you to explore our wide range of high-quality products. Our inverters are designed with the latest technology to provide you with reliable and efficient power solutions.
Remember, at Mercury Direct, we’re not just about selling products, we’re about providing solutions. Let us be your guide in the journey towards reliable and efficient power management.

I like it and I want to know more about it
I came here to see a picture of Step 4, the actual connection between the inverter AC output wiring to the distribution panel. So essentially your guide does not contain a guide.
You didn’t include where to put the inverter output and input on yeh distribution board and pls how do you separate the appliances you want to power and the ones you don’t ?