A Comprehensive Guide on How to Connect Inverter to Battery

Whether you're a seasoned professional or a first-time DIY enthusiast, understanding how to connect an inverter to a battery can be an essential piece of knowledge. Inverters play a crucial role in converting DC (Direct Current) from the battery into AC (Alternating Current), which is used to power electrical appliances. Ensuring the correct setup is crucial not only for the efficient operation of your equipment but also for the safety and longevity of your batteries and inverter.
Understanding Inverter and Battery Connections
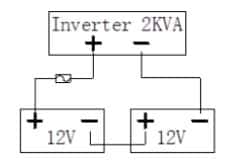
Inverter batteries can be connected in series to double the voltage or in parallel to double the capacity. Alternatively, they can be connected in both series and parallel depending on the voltage and capacity requirements of your inverter. Before proceeding with any connections, you must confirm the voltage of your inverter.
For instance, if you have a 12-volt inverter, the battery bank must be wired for 12 volts. You can connect more than one 12-volt battery, but the output voltage must remain 12 volts. The reason for this is simple: over-voltage can damage your inverter and appliances while under-voltage can cause inefficient operation or even system failure.
Essential Steps to Connect an Inverter to a Battery
Step 1: Confirm Your Inverter's Voltage Requirement
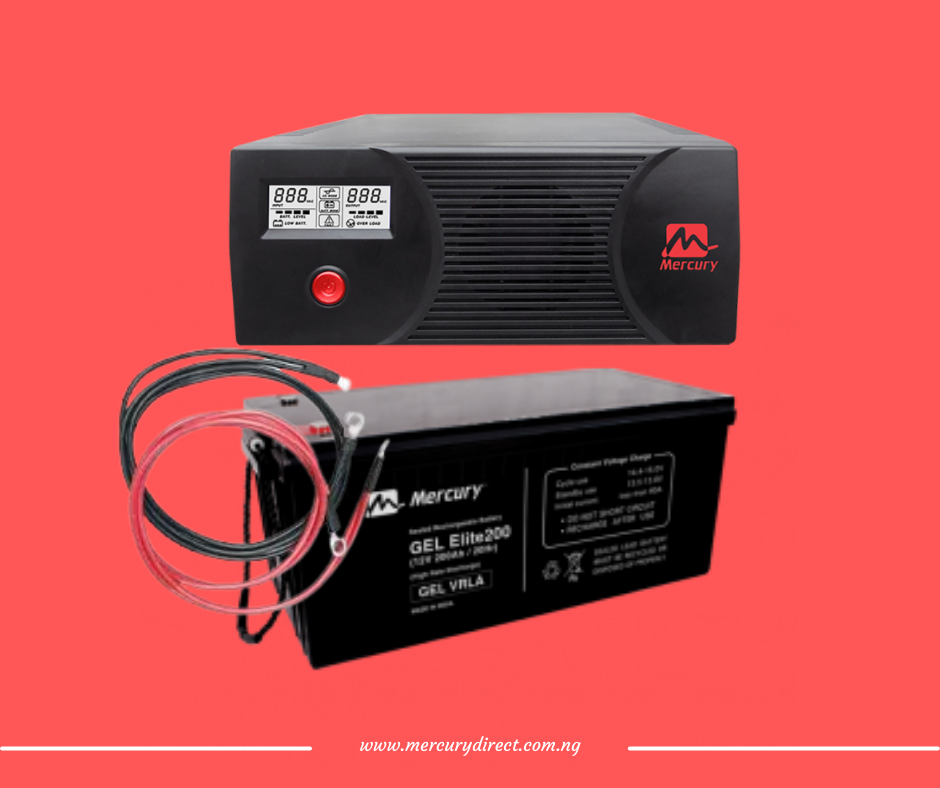
The first step is to understand the voltage requirements of your inverter. Check the manufacturer's specifications to ascertain this information. For instance, a Mercury 2.4 kVA inverter requires a 24-volt connection.
Step 2: Choose the Correct Wiring Method
If you're using more than one battery, decide whether to connect your batteries in series, in parallel, or a combination of both. Remember, connecting in series increases voltage while retaining capacity, while connecting in parallel increases capacity while retaining the same voltage.


For a 24-volt inverter and four 12-volt batteries, you'll need a series-parallel connection. This entails connecting two sets of batteries in series (which doubles the voltage) and then connecting these sets in parallel (which maintains the 24-volt level but doubles the capacity).

Step 3: Use the Correct Size Wires
Using the correct size wires is critical for the performance and safety of your inverter connection. The wire size must be capable of carrying the current without overheating. An undersized wire can lead to voltage drop, inefficiency, and can even pose a fire risk
WARNING! All wiring must be performed by qualified personnel.
| Inverter Size (kVA) | Wire Size (AWG) | Wire Size (mm2) |
|---|---|---|
| 1 - 2 | 14 | 2.5 |
| 3 - 4 | 12 | 4 |
| 5 - 6 | 10 | 6 |
| 7 - 8 | 8 | 10 |
| 9 - 10 | 6 | 16 |
Step 4: Connect Your Inverter to the Battery
Once your batteries are connected correctly, you can connect your inverter to the battery bank. The inverter should be connected to the positive terminal of the first battery and the negative terminal of the last battery in your series-parallel setup.
Always ensure you connect the positive terminal first and the negative terminal last when setting up your inverter connection. This method reduces the risk of a short circuit.
Step 5: Test Your Connection
After connecting your inverter to the battery, it's vital to test the system to ensure everything is working correctly. Check the voltage at the inverter terminals using a multimeter. If it matches the manufacturer's specifications, your connection is successful.
In conclusion, understanding how to connect an inverter to a battery is crucial for efficient and safe operation. Always ensure to check the voltage requirements of your inverter, connect your batteries in the appropriate arrangement, use the correct wire size, and test your connection before use. Following these steps will help you set up your inverter successfully.
Whether you're a seasoned professional or a first-time DIY enthusiast, understanding how to connect an inverter to a battery can be an essential piece of knowledge. Inverters play a crucial role in converting DC (Direct Current) from the battery into AC (Alternating Current), which is used to power electrical appliances. Ensuring the correct setup is crucial not only for the efficient operation of your equipment but also for the safety and longevity of your batteries and inverter.
Contact Mercury Direct today for reliable and cost-effective power solutions in Nigeria!
Tel: 07037451701 Email: support@mercurydirect.com.ng
Take the first step towards powering your home or business with high-quality inverters, deep cycle batteries, solar panels, UPS, and stabilizers. Reach out to us now and let us provide you with the perfect power solution tailored to your needs.
Contact Mercury Direct for all your power needs and experience excellence in energy solutions!

My inverter charging current maximum is 18A. The charging current required for the 150AH BATTERY is 18A. If I connect two 12v batteries in parallel, will my UPD be able to charge the batteries
Thanks a lot.
I will the information